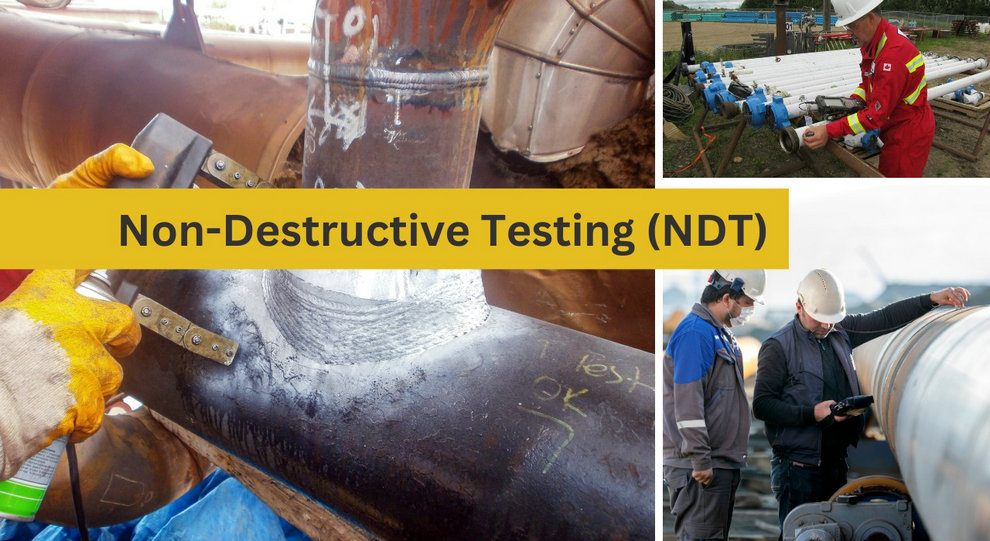
Today, let’s dive into the differences and applications of three common non-destructive testing (NDT) methods used for seamless steel pipes: ultrasonic testing (UT), eddy current testing (ET), and magnetic particle testing (MT).
Seamless steel pipe inspection is generally divided into:
Online Testing: High-speed, full-scale inspection during production.
Offline Testing: Precise re-inspection and analysis of suspicious or sampled products.
Each of the three methods plays a unique role in these processes.
| Feature | Ultrasonic Testing (UT) | Eddy Current Testing (ET) | Magnetic Particle Testing (MT) |
| Principle | Uses high-frequency sound waves; defects reflect and attenuate signals | Uses alternating magnetic fields to induce eddy currents; defects disturb the field | Magnetizes the steel pipe; surface defects create leakage fields that attract magnetic particles |
| Defect Detection | Internal defects: cracks, slag inclusions, porosity, delamination, shrinkage cavities | Near-surface defects (inner/outer walls): short cracks, pores; best for outer wall | Surface and near-surface defects (only for magnetic steels): cracks, folds, seams |
| Depth | Deep – can penetrate full wall thickness | Shallow (<1–2 mm; depends on frequency/material) | Very shallow – only surface and near-surface |
| Main Use | Offline precision re-inspection, full-body testing for critical pipelines (API 5CT, API 5L, boiler tubes, pressure vessels) | Online high-speed screening, 100% inspection in production, material sorting | Local re-check, thread inspection at pipe ends, direct visualization of surface cracks |
| Advantages | Strong penetration, detects internal defects, measures depth | Non-contact, fast, efficient, cost-effective | Direct visualization, highly sensitive |
| Limitations | Requires couplant (water/oil), surface finish sensitive | Limited to near-surface defects, material interference, false positives | Only for ferromagnetic steels (carbon/alloy steel), not usable for austenitic stainless steel, requires magnetization/demagnetization |
Final Quality Judge: The most authoritative method for internal quality inspection. Used after ET alarms to confirm defect type and measure depth/length/position.
Full-body testing: Required for oil & gas casing, line pipes, and high-pressure boiler tubes. Scanning ensures full coverage.
Offline inspection: Slower but highly accurate.
Production Line Guard: The most efficient online inspection method. Steel pipes pass through rotating ET probes for real-time screening.
Efficiency King: Matches production speed, enabling 100% inspection.
Limitations: Insensitive to deep defects, prone to interference from material/size/temperature, may produce false positives.
Surface Confirmation: Used to verify suspected surface defects flagged by UT/ET.
Direct Visualization: Magnetic particles clearly show defect shape and size.
Pipe Ends & Threads: Commonly used after threading to check for stress cracks.
Material Limitation: Works only for ferromagnetic steels (carbon/low alloy), not for stainless steels like 304/316.
ET – Online Screening: Every pipe passes through ET for rapid defect detection. Suspicious pipes are marked.
UT – Offline Verification: Marked pipes are re-tested with UT for final judgment (pass/repair/reject).
MT – Surface Visualization: For UT/ET surface defect cases, MT confirms the exact crack shape and size.
UT → To check inside.
ET → To check fast, near the surface.
MT → To see surface cracks clearly.
